


When teaching rhythm and beat to your elementary students, you might find yourself in a bit of a pickle. You know there’s a difference between the two, but you’re having trouble getting that across to your students. Or, they already have rhythm and beat confused in their heads, and you have to straighten them out. Whatever the case, I’ve gathered some of my most-used strategies for teaching the difference between beat and rhythm to help you navigate this concept in your music classroom.
What is steady beat?
Simply put, the steady beat is the regular, repeating pulse of the music. It stays the same without changing. I don’t stress about the words I use to explain it–we spend LOTS of time actually DOING it.
First, my students keep the beat on their bodies in different ways while listening to music and singing. I use songs with different tempos and meters, exposing them to varied musical styles. We pat our laps, march in place, walk to the beat around the room–anything to get their bodies to feel the pulse of the music. I love to interject a bit of student choice into lessons by allowing them to choose where they will pat the beat on their body or how they will move to the steady beat through space.
Once my students can use their bodies to keep the steady beat, I introduce instruments. At the beginning of the school year, our first playing experiences are accompanying simple songs and chants. Those early beat-keeping exercises are also great for practicing and developing instrument technique. During any beat-keeping activity, I explain (and have my students explain) that we are “keeping the steady beat” to help them make a concrete physical connection (the body movements) to a somewhat abstract concept for young students.
Songs for teaching steady beat
Bee, Bee, Bumblebee
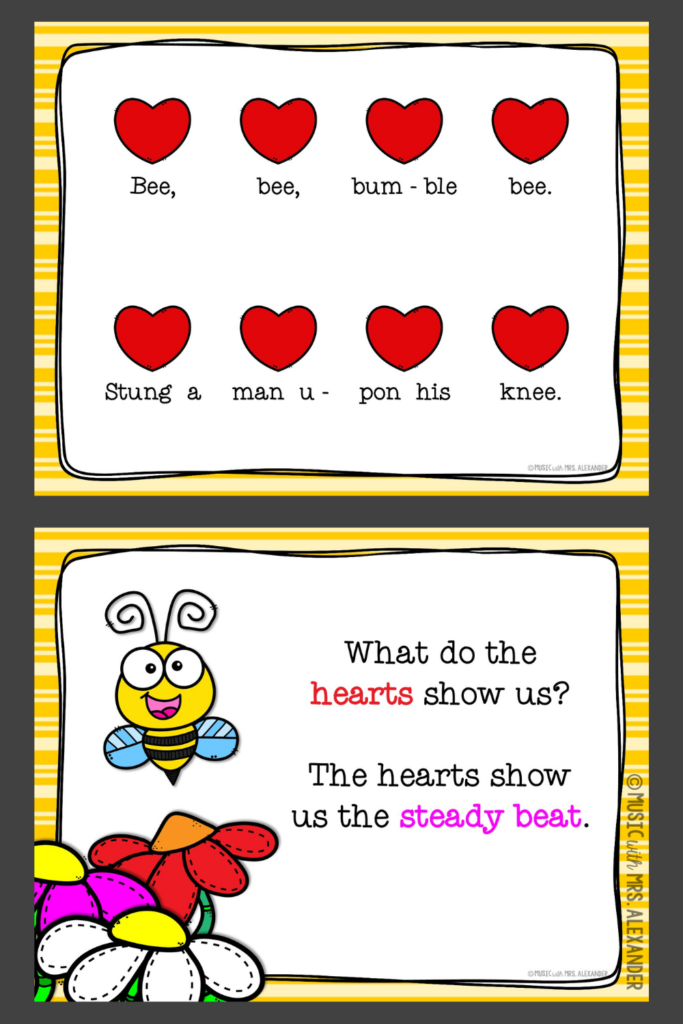
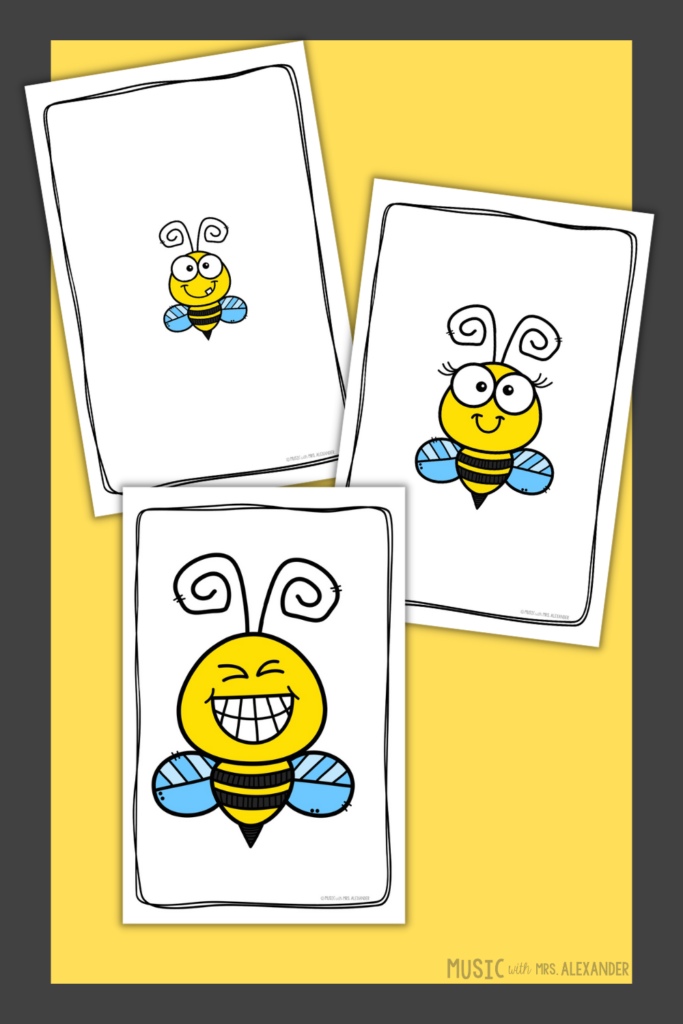
Bee, Bee, Bumblebee is a chant I use at the beginning of the year to practice steady beat and introduce the relationship between pitch and size. First, we learn the chant and practice patting the steady beat while saying the words. Then, I show them pictures of three bees–a tiny one, a medium-sized one, and a big one. I ask them, “If our bees could talk, how would the tiny bee sound?” We say the chant using a high-pitched voice for our tiny bee. I repeat the process for the other two bees. (big=low, medium=normal voice)
Once we have practiced saying the chant in all three voices, we play the game.
- Students form a circle.
- The teacher stands in the middle and points to each student to the steady beat of the chant. (You could also walk around the outside of the circle and tap each student)
- The student tapped on the word ‘out’ goes to the center. They get to choose which voice the class uses in the next round by picking one of the three bees.
That student could also lead the class by playing the steady beat on an instrument during the next round.
Engine, Engine, Number Nine

Engine, Engine, Number Nine is a favorite all-purpose song I use for reviewing sol and mi, steady beat, and tempo. First, I sing and invite the students to join in when they are ready. Then we pat the steady beat on our laps while singing.
Once they can comfortably sing and keep the beat, we add instruments. I line up the students behind each one to create trains. We practice singing and playing the steady beat in place first. On ‘yes, no, maybe so,’ the first student in each line passes their instrument to the person behind them. They move to the end of the line, and the line moves up. We begin playing the steady beat again when the song starts over.
After a few rounds of playing in place, we march around the room to the steady beat in our trains. The first student in line is the conductor. They lead their group around the room while playing the steady beat. On ‘yes, no, maybe so,’ they pass their instrument to the person behind them and move to the end of the line. The train now has a new conductor for the next round!
Rhythm or steady beat?
Once my students have a solid foundation with steady beat, I introduce the concept of rhythm. And every time, like clockwork, they inevitably confuse the two. It’s like when my oldest was a toddler, and she
learned how to say “Elmo” after we got her a big stuffed one for her birthday. Suddenly every stuffed animal in the WORLD was Elmo! Once she discovered that word, she applied her newly gained knowledge to every interaction. It’s the same way with my younger students–once we learn about the beat, that’s their answer to any question I ask about a piece of music. Luckily I’ve learned to anticipate it, and I have several strategies to help them tell the difference.
Name It
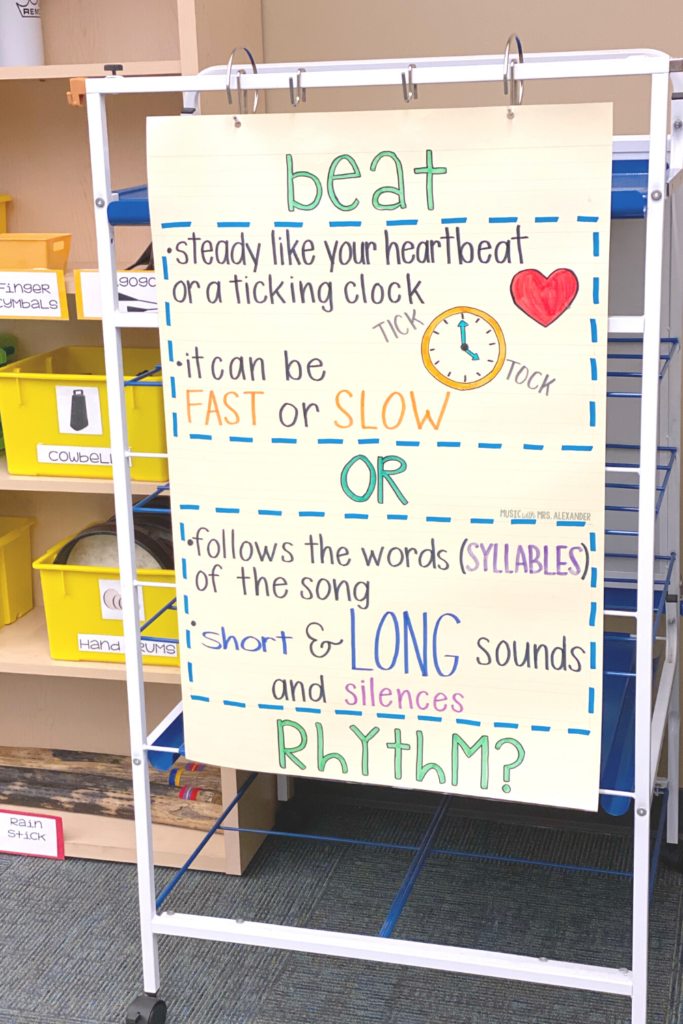
The first strategy is the simplest–we name it. When we play the beat, I count off by saying, “Let’s play the beat, here we go.” If we’re playing the rhythm, I replace the word “beat” with “rhythm.” Before each turn, I have them tell me which one we are playing. We also point out the words “beat” and “rhythm” on our anchor charts and word wall whenever we use them. Naming both concepts while playing/moving helps my students understand that beat and rhythm are two different things.
Show It

I also use iconic notation and visuals when teaching the difference between rhythm and beat. Hearts represent the steady beat, and icons of different sizes represent the rhythm. We discuss how the hearts are always the same (size, color, etc.), just like the steady beat stays the same. For rhythm, one icon on a heart represents a quarter note. Two smaller icons mean a pair of eighth notes. A heart with nothing on it? A quarter rest. We spend a lot of time using iconic notation before moving to traditional notation.
Touch It

Along the same vein, manipulatives are another handy tool when teaching the difference between beat and rhythm. Giving students something they can touch, feel, or move helps them understand the concept better. (You can read more about how I use manipulatives in this post) I made these steady beat strips for beat tracking and rhythm decoding. My students use them to tap the steady beat while singing or saying a chant. I spend a lot of time making sure they understand that music moves from left to right, just like words on a page. They cannot start with rhythm decoding until they have mastered that skill.
When we start learning the difference between steady beat and rhythm, we use the beat strips to practice rhythm decoding. First, I show my students the words of our song under the steady beat hearts. Then, we say and clap the words on each beat. We count our claps and place craft sticks on the beat strips to show the number of syllables on each beat. Once we have decoded each line, we say the words and clap the rhythm. This process goes back to what I mentioned earlier about naming what we do–for every line, I say, “let’s say the words and clap the…” and have the class fill in the blank with ‘rhythm.’
Activities for teaching rhythm and beat
Cobbler, Cobbler
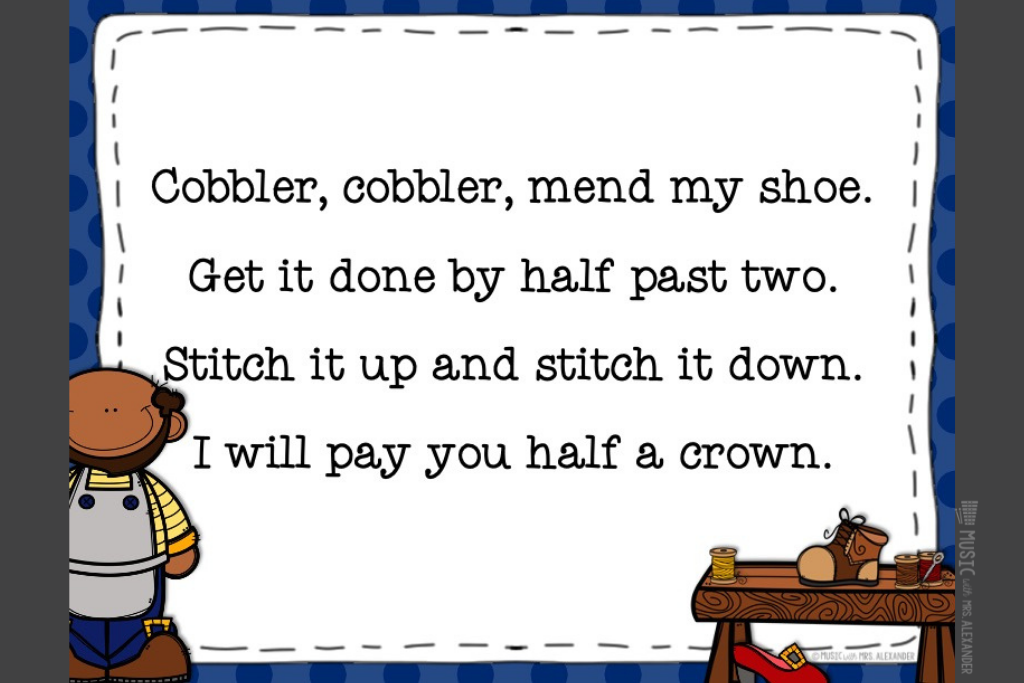
Cobbler, Cobbler is my go-to for introducing the concept of rhythm to my students. First, I say the chant and have my students pat the beat. Then, I say each phrase, and they echo me. We put the chant together and say it while patting the steady beat. We also talk about the words and discuss what a cobbler does.

After we learn that a cobbler fixes shoes, we look at cards with pictures of different shoes and clap the names. We put them into groups based on the number of syllables in their names. Then, I let two students pick a card to create a four-beat pattern. We say and clap it four times as an interlude between repetitions of Cobbler, Cobbler. Once we have practiced this activity as a class, I let my students work in groups to create a shoe pattern using their own set of cards. We end with one big performance, with each group saying and clapping their interlude between repetitions of the chant.
2, 4, 6, 8

I use 2, 4, 6, 8 in first grade as our first experience with playing the rhythm of a song on instruments. We start by learning the chant and patting the steady beat. I then ask the class to listen while I say the chant and clap the rhythm. I ask my students, “Did my clapping sound like the steady beat?” I ask them to clap along with me, instructing them to clap for every part of every word. We review the definition of rhythm and point out all the places we see the word in the music room.

Once they are comfortable clapping the rhythm, we move to instruments. We start by playing the steady beat while saying the chant. Then, we rotate and play the rhythm. After a few rounds, I divide the class in half. We say the chant twice–the first time, half the class plays the beat, and the second time, the other half plays the rhythm.
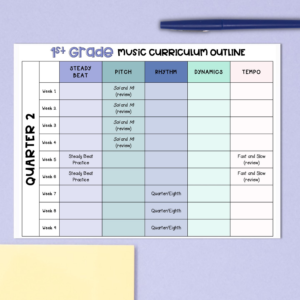
And there you have it–my top tips and tricks for helping your students learn the difference between rhythm and beat. I hope you can use some of these ideas to stop the confusion before it even starts! Need inspiration for planning the rest of your elementary music curriculum? Grab a FREE copy of my sample scope and sequence here! Want to simplify your planning with complete, ready-to-teach lesson plans? The songs mentioned in this post are part of my teaching beat vs. rhythm lesson plans on Teachers Pay Teachers. Use the links below to check them out!
Music Lesson Plans for Kindergarten – High and Low
Music Lesson Plans for 1st Grade – Beat Vs. Rhythm
Music Lesson Plans for 2nd Grade – 1st Grade Review
Music Lesson Plans for 2nd Grade – Beat Vs. Rhythm